Automate a WordPress Blog with n8n: Step-by-Step Guide (2026)
A complete step-by-step guide to automating your WordPress blog with n8n. Connect the REST API, generate AI drafts, add featured images, and review before you publish.

Sep 30, 2026 · 19 min read
Running a WordPress blog means repeating the same tasks again and again: creating drafts, formatting content, finding images, choosing categories, and telling your team a post is ready. You can automate a WordPress blog with n8n so that a scheduled workflow handles all of this, while you keep control over what gets published.
n8n is a workflow automation platform that connects apps with visual nodes. It is one of several approaches to WordPress blog automation with AI, and it is the most flexible one if you want control over every step. In this guide, you will build a complete pipeline that takes a topic from a spreadsheet, generates a structured AI draft, creates it in WordPress, attaches a featured image, and notifies you to review it. After that, you will see more n8n WordPress automation use cases, including categorizing blog posts with AI and publishing posts to social media.
If you want to know how to automate WordPress with n8n beyond blogging, the same setup also works for pages, users, categories, and social sharing.
Quick answer: To automate a WordPress blog with n8n, (1) create a WordPress Application Password, (2) add it as a credential in n8n, (3) build a workflow with a Schedule Trigger, a topic source such as Google Sheets, an AI node, and the WordPress node set to Create a post with status draft, (4) upload a featured image through the WordPress REST API, and (5) review and publish the draft yourself.
Key Takeaways
n8n connects to WordPress through the REST API and an Application Password, so you do not need a plugin for the core workflow.
Always create posts as drafts and review them. Unreviewed, mass-produced AI content is the main SEO risk.
The WordPress node cannot upload featured images on its own. Use the HTTP Request node with the media endpoint.
The same setup can categorize posts with AI, tag them, and publish them to social media.
Self-hosted n8n is free software, and n8n Cloud starts at about €20 per month.
Who this guide is for
Bloggers, agencies, and small teams who publish on WordPress and want to remove repetitive work. You do not need to code. Expect about 60 to 90 minutes for your first working workflow, and a beginner-to-intermediate comfort level with WordPress admin.
Why Automate WordPress with n8n?
n8n gives you a dedicated WordPress node for posts, pages, and users. For anything that node does not cover, the HTTP Request node can call the WordPress REST API directly. Two other practical advantages matter for bloggers:
Execution-based pricing. One execution is one complete workflow run, regardless of how many steps it contains. That keeps multi-step blog pipelines affordable. At the time of writing, n8n Cloud starts at about €20 per month for 2,500 executions (check the official pricing page for current plans).
Self-hosting. The Community Edition is free software with no execution limit. You only pay for the server, which is often a few dollars a month.
For a blog publishing a few posts a week, either option is more than enough.
n8n vs Zapier, Make, and WordPress Plugins
n8n is not the only way to automate WordPress. Here is how the main options compare for a blogging workflow:
Option | Best for | Pricing model | Trade-off |
|---|---|---|---|
n8n | Multi-step workflows with AI, custom logic, and full control | Per full workflow run (Cloud), or free when self-hosted | Steeper learning curve than Zapier |
Zapier | Simple, quick handoffs such as Google Docs to a WordPress draft | Per task, so long workflows cost more | Costs rise as workflows grow |
Make | Visual scenarios with moderate complexity | Per operation | Also scales in cost with steps |
WordPress plugin | Keeping everything inside your site | Usually a license or subscription | Less flexible, tied to what the plugin supports |
The key difference is how usage is counted. In n8n, one execution is a whole workflow run, however many steps it has, which is why long AI pipelines tend to be cheaper there. Verify each tool's current pricing before deciding. For a wider comparison of approaches, see this guide to WordPress blog automation with AI.
What Will This Cost?
Item | Typical cost |
|---|---|
n8n self-hosted (Community Edition) | Free software, plus a small server, often a few dollars per month |
n8n Cloud | From about €20 per month for 2,500 executions |
AI model API | Varies by model and article length, often cents per draft |
Image source | Free stock APIs such as Pexels, or a paid image generator |
WordPress and Google Sheets | No extra cost for this workflow |
Prices change, so confirm them on each provider's site before you commit.
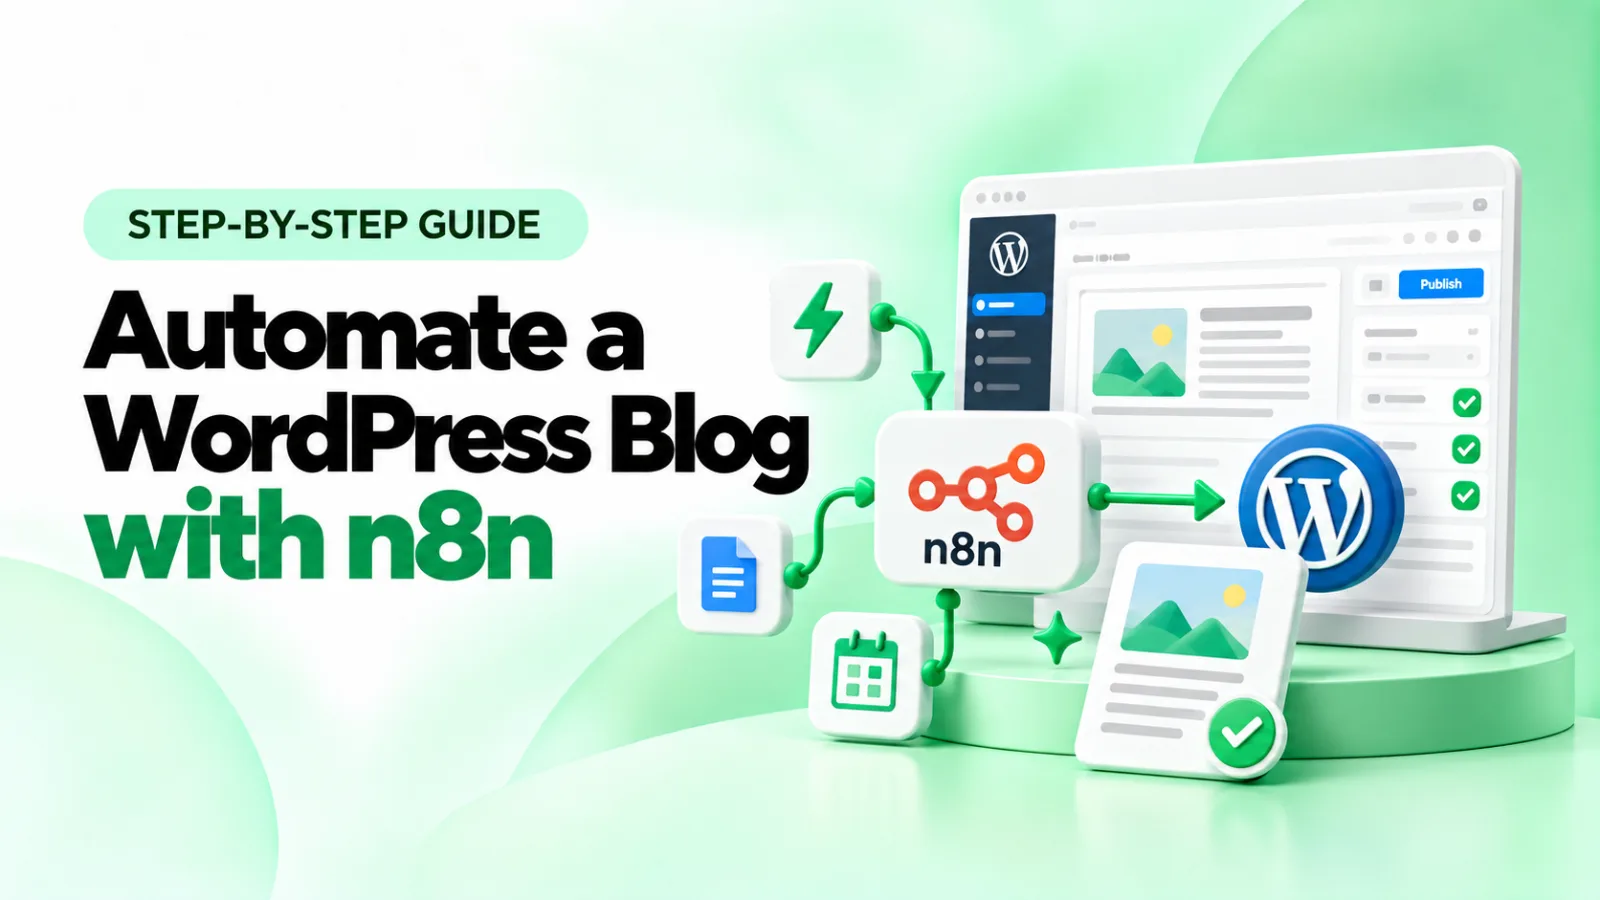
The Workflow at a Glance
Here is the pipeline you will build:
Schedule Trigger starts the workflow, for example daily at 9 AM.
Google Sheets fetches the next pending topic.
AI node writes a structured draft.
Code node parses the AI response.
WordPress node creates the post as a draft.
HTTP Request nodes upload the image and set it as the featured image.
Slack or Gmail sends you a review link.
Google Sheets marks the topic as done.
Prerequisites
A WordPress site (version 5.6 or later) with admin access and HTTPS enabled
An n8n account (Cloud) or a self-hosted n8n instance
An API key from an AI provider such as OpenAI or Anthropic
A Google account for the topic sheet
Optional: Slack or Gmail for notifications
Step 1: Set Up n8n
The quickest route is to sign up for n8n Cloud. To self-host, run n8n with Docker on a small VPS and place it behind HTTPS with a reverse proxy. Once you are in the editor, click Create Workflow and name it “WordPress Blog Pipeline”.
Step 2: Create a WordPress Application Password
Application Passwords let n8n connect to WordPress without your main login password, and you can revoke them at any time.
Log in to WordPress and go to Users → Profile.
Scroll to Application Passwords.
Enter a name such as
n8nand click Add New Application Password.Copy the generated password immediately. WordPress only shows it once.
Security tip: Create a dedicated user with the Author or Editor role for n8n instead of using an Administrator account. If the credentials are ever exposed, the potential damage is limited.
Step 3: Add WordPress Credentials in n8n
In n8n, open Credentials and click Create credential.
Search for WordPress API.
Enter your site URL (for example
https://yourblog.com), your WordPress username, and the application password.Save the credential. n8n tests the connection.
If the test fails, confirm your site uses HTTPS and that no security plugin is blocking REST API requests.
Step 4: Build a Content Queue in Google Sheets
A spreadsheet is the simplest way to control what gets written. Create a sheet with these columns:
topic | keyword | audience | status | post_url |
|---|---|---|---|---|
How to back up a WordPress site | wordpress backup | beginner site owners | pending |
The status column is the key. The workflow only picks rows marked pending and updates them after drafting, so the same topic is never processed twice.
Step 5: Add the Trigger and Fetch a Topic
Add a Schedule Trigger node and choose your interval.
Add a Google Sheets node with the operation Get row(s), filtered where
statusequalspending.Add a Limit node set to 1 item.
The Limit node ensures each run handles a single topic. Starting at low volume makes quality far easier to check.
Step 6: Generate the Draft with AI
Add an AI Agent node, or a Basic LLM Chain connected to your chosen model. The most important decision is to request structured output, so each part of the response maps cleanly to a WordPress field.
Here is a prompt you can adapt:
You are an experienced editor writing for {{ $json.audience }}.
Write a blog post on "{{ $json.topic }}".
The target keyword is "{{ $json.keyword }}".

Return valid JSON only, with these keys:
title, slug, excerpt, meta_description, html_content,
image_prompt, category

Rules:
- html_content must use HTML (h2, h3, p, ul, li), not Markdown
- Keep the title under 60 characters
- Keep meta_description under 155 characters
- Insert [ADD EXAMPLE FROM EXPERIENCE] where a human should add
  a first-hand detail
- Do not invent statistics or quotes
The placeholder instruction is deliberate. AI is good at structure, but readers and search engines reward original experience, so the draft should leave room for yours.
Parse the AI response
Models sometimes wrap JSON in extra text. Add a Code node after the AI node to clean it up:
const raw = $input.first().json.output || $input.first().json.text;
const cleaned = raw.replace(/```json|```/g, '').trim();
const data = JSON.parse(cleaned);
return [{ json: data }];
If your model supports it, n8n's Structured Output Parser is a cleaner alternative.
Step 7: Create the Post in WordPress
Add a WordPress node and configure it:
Credential: the one you created in Step 3
Resource: Post
Operation: Create
Title:
{{ $json.title }}Content:
{{ $json.html_content }}Status:
draftAdditional fields: map
excerptandslugfrom the AI response
Keep the status as draft. Publishing should happen only after you have reviewed the post. The node returns the new post's ID, which you need in the next step.
Step 8: Add a Featured Image
This step trips up many people, because the WordPress node does not handle media uploads well. The reliable method is to call the REST API with the HTTP Request node. It has three parts.
8a. Get an image
Either generate one with an image API using the image_prompt field, or fetch a stock photo from a service such as Pexels using your keyword as the search term. Use an HTTP Request node to download the image as binary data (set the response format to File). You can also study n8n's community template for WordPress publishing with Pexels images.
8b. Upload it to the WordPress media library
Add another HTTP Request node:
Method: POST
URL:
https://yourblog.com/wp-json/wp/v2/mediaAuthentication: your WordPress credential
Body: send the binary file
Headers:
Content-Disposition: attachment; filename="featured.jpg"andContent-Type: image/jpeg
WordPress responds with the new media item, including its id.
8c. Attach it to the post
Add a third HTTP Request node:
Method: POST
URL:
https://yourblog.com/wp-json/wp/v2/posts/{{ $('WordPress').item.json.id }}Body (JSON):
{
  "featured_media": {{ $json.id }}
}
The most common mistake is sending this update to the media endpoint. The featured image is attached by updating the post, not the media item. Also set alt text on the uploaded image, since it helps accessibility and image search.
Step 9: Set Categories, Tags, and SEO Fields
Categories and tags. Rather than letting the AI invent new ones, use the WordPress node to fetch your existing categories and match the AI's suggestion to an existing ID. This prevents duplicate or messy taxonomies.
SEO plugin fields. Yoast SEO and Rank Math store titles and descriptions as custom fields, which are usually not writable through the default REST API. Check your plugin's documentation. You may need to expose those fields with a small code snippet.
Excerpt and slug. These are standard WordPress fields, so map them straight from the AI output.
Step 10: Add a Human Approval Step
This step turns a risky automation into a safe one. After the post is created, add a Slack or Gmail node that messages you:
New draft ready: {{ $json.title }}
Edit it here: https://yourblog.com/wp-admin/post.php?post={{ $('WordPress').item.json.id }}&action=edit
Then finish with a Google Sheets Update row node that sets status to drafted and saves the post URL. When the notification arrives, review the draft properly:
Replace every placeholder with a real example, screenshot, or opinion
Check facts, figures, and links
Adjust the tone so it sounds like you
Publish manually when you are satisfied
Step 11: Add Error Handling
Workflows fail from time to time: an API key expires, a rate limit is hit, or your site goes down briefly. Create a second workflow that starts with an Error Trigger node, followed by a Slack or Gmail node that reports the failed workflow's name and the error message. In the settings of your main workflow, select it as the error workflow. Without this, a broken automation can fail silently for days.
Troubleshooting Common Problems
Problem | Likely cause | Fix |
|---|---|---|
401 Unauthorized | Wrong username or application password | Use your username (not email) and generate a new password |
Media upload returns your homepage HTML | A host firewall or security plugin is blocking the request | Allow REST API requests, or ask your host to whitelist your n8n server |
Featured image is missing | The update was sent to the wrong endpoint | Send |
Formatting looks broken | The AI returned Markdown | Ask for HTML in the prompt |
Duplicate posts | The sheet status was not updated | Add the Update row step and filter on |
JSON parse error | The AI added text around the JSON | Strip code fences in the Code node |
Keep Your Automation SEO-Safe
Automation makes publishing easier, and that creates a risk worth taking seriously. Google's spam policies include a rule against scaled content abuse, which covers generating many pages mainly to manipulate search rankings rather than to help people. The rule applies however the content is produced, and Google has said that using AI or automation is not spam by itself. The dividing line is value and intent.
In practice, follow these rules:
Always review. Keep AI output as a draft and edit every post.
Add real experience. Include your own screenshots, data, examples, and opinions.
Fact-check. AI can state incorrect details confidently.
Stay focused. Do not publish dozens of near-identical posts targeting keyword variations.
Use AI for the heavy lifting. Let it handle structure and formatting, while you provide the expertise.
A blog with a steady stream of helpful, reviewed posts will outperform one that floods the site with thin content. If you are weighing plugins, Zapier, or the REST API against n8n, this overview of six ways to create, review, and publish AI-assisted posts compares them side by side.
n8n WordPress Automation Use Cases
The pipeline above is only one thing you can build. Once n8n is connected to WordPress, the same credentials power many other workflows. Here are the most useful ones for bloggers and content teams.
1. Generating Blog Posts with AI
This is the workflow you just built: a schedule or topic list triggers an AI model, which drafts a post that n8n sends to WordPress. It works best for first drafts, outlines, and formatting, with a human adding expertise and approving the result. Keep the status on draft so nothing goes live unreviewed.
2. Categorizing Blog Posts with AI
Sorting posts into the right categories is time-consuming, especially on a site with hundreds of older articles. n8n can read each post, ask an AI model to choose the best category, and update the post automatically. It can run on new drafts or clean up your archive in bulk.
How to build it:
Trigger: add a Schedule Trigger, or run the workflow manually for a one-time archive cleanup.
Get posts: add a WordPress node with the resource Post and operation Get Many. Filter for uncategorized posts, or for recent drafts.
Get your category list: add a second WordPress node that fetches all existing categories with their IDs.
Ask the AI: pass the post title, an excerpt of its content, and the list of allowed categories to an AI node.
Update the post: add a WordPress node with the operation Update and set the category ID returned by the AI.
A prompt that keeps the AI from inventing categories:
You are a content editor. Choose the single best category for this post
from the list below. You may only use categories from the list.

Post title: {{ $json.title.rendered }}
Post excerpt: {{ $json.excerpt.rendered }}

Allowed categories (id: name):
{{ $('Get Categories').all().map(c => c.json.id + ': ' + c.json.name).join('\n') }}

Return valid JSON only: {"category_id": 0, "confidence": "high|medium|low"}
If none fit well, return {"category_id": null, "confidence": "low"}.
Tips for accurate results:
Restrict the AI to your existing categories so it does not create duplicates.
Add an IF node so only high confidence results are applied automatically, and send the rest to a Slack or email review list.
Test on 10 to 20 posts before running it on your whole archive.
Keep a Google Sheet log of old and new categories so you can undo mistakes.
3. Tagging Blog Posts with AI
Tagging follows the same pattern as categorizing. Fetch your posts and existing tags through the WordPress node, ask the AI to pick 3 to 5 relevant tags, and use the Update operation to save them. Limit tags to a controlled list, because too many near-duplicate tags create thin archive pages that add little value for search.
4. Publishing Posts to Social Media
Sharing every new article by hand is easy to forget. With n8n, publishing a post in WordPress can automatically trigger social media updates, each written for the right platform.
How to build it:
Trigger on new posts: use the RSS Feed Trigger node with your blog's feed (usually
https://yourblog.com/feed). It fires whenever a new post appears. Alternatively, use a Schedule Trigger with a WordPress Get Many node that fetches recent published posts.Write platform-specific copy: pass the title, excerpt, and URL to an AI node and ask for a short LinkedIn post, a concise X post, and a friendly Facebook caption.
Add tracking: append UTM parameters to the link so you can measure social traffic in your analytics.
Publish: connect the LinkedIn, X, or Facebook nodes, or use a scheduling tool's API if you prefer to queue posts.
Log it: write the post URL and share time to a Google Sheet so the same post is never shared twice.
A useful social prompt:
Write three social posts promoting this article.
Title: {{ $json.title }}
Summary: {{ $json.contentSnippet }}
Link: {{ $json.link }}

1. LinkedIn: professional tone, 2-3 short paragraphs, one takeaway
2. X: under 250 characters, one hook, no more than 2 hashtags
3. Facebook: friendly, 2 sentences, one question

Return valid JSON with keys: linkedin, x, facebook.
Do not invent facts that are not in the summary.
Tips:
Send the drafts to Slack or email for a quick approval before they post, especially at the start.
Reuse the featured image so shared links look consistent.
Platform API rules and access tiers change often, so confirm current requirements for each network before you build.
Space out posts across the week rather than sharing everything at once.
5. Turning Spreadsheet Rows into Posts
If you or your writers already keep content in Google Sheets, Airtable, or Notion, n8n can turn each finished row into a WordPress post. Map columns such as title, body, category, and tags to the matching WordPress fields, and set the status to draft or pending review. This suits directory sites, product roundups, and teams that plan content in a spreadsheet.
6. Team Approval Workflows
For teams, n8n can manage the review process. When a writer marks a document as ready, n8n creates a WordPress draft, notifies an editor in Slack, and waits for approval. Once the editor approves, the workflow can move the post to pending or schedule it. This keeps a clear record of who approved what and reduces missed handoffs.
7. More Ideas
Newsletter: send each new post to your email list or build a weekly digest.
Content refresh: flag posts that have not been updated in a year and add them to a review sheet.
Broken link checks: scan published posts on a schedule and alert you to dead links.
Reporting: pull Search Console data into a sheet each week to spot posts to improve.
Image handling: compress images or generate alt text suggestions for new uploads.
When Not to Automate
Automation is not right for every post. Keep these in human hands:
Expert or opinion content. Readers come for your judgment, which AI cannot supply.
Sensitive topics. Medical, legal, and financial content needs expert review and accurate sourcing.
Anything you cannot fact-check. If you cannot verify a claim, do not publish it.
High-volume publishing for its own sake. Quantity without value can violate Google's spam policies and hurt your whole site.
Use n8n to speed up the mechanical parts of publishing, and keep the thinking, testing, and final approval yours.
Frequently Asked Questions
How do I automate WordPress with n8n?
Create a WordPress Application Password, add it as a credential in n8n, then build a workflow with a trigger, an optional AI node, and the WordPress node. Set new posts to draft, review them, and publish manually.
Is n8n free to use with WordPress?
The self-hosted Community Edition is free, and you only pay for your server. n8n Cloud is a paid managed option with plans starting at around €20 per month. Check n8n's pricing page for current numbers.
Do I need to know how to code?
No. The workflow uses visual nodes. The small code snippets in this guide are optional helpers for parsing data.
Can n8n publish posts to WordPress automatically without review?
Technically yes, but it is not recommended. Creating drafts and reviewing them protects quality and reduces SEO risk.
Does the n8n WordPress node support featured images?
Not directly. Use the HTTP Request node to upload to the media endpoint and then update the post with the media ID, as shown in Step 8.
Can n8n categorize WordPress posts automatically?
Yes. Fetch your posts and categories with the WordPress node, ask an AI model to choose from your existing category list, then use the Update operation to save the result. Restrict the AI to your own categories and review low-confidence results manually.
Can n8n share new WordPress posts on social media?
Yes. Use an RSS Feed Trigger pointed at your blog feed, generate platform-specific copy with an AI node, and publish through the LinkedIn, X, or Facebook nodes. Log shared URLs so the same post is never posted twice.
Which AI model should I use?
Choose one that follows formatting instructions reliably. Test a few on your own topics and compare quality, speed, and cost.
Will Google penalize AI-assisted posts?
Google does not penalize content simply for being AI-assisted. It targets unhelpful, mass-produced content made mainly to manipulate rankings. Reviewed, original, useful posts are fine.
Conclusion
Automating a WordPress blog with n8n does not mean handing your blog over to a machine. It means removing the repetitive steps so you can spend your time on what readers value: your knowledge, your examples, and your voice.
Start small. Build the pipeline with one topic and one draft, review the result, and refine your prompt. If you would like to compare this approach with plugin-based or Zapier-based setups first, this guide to AI blog automation for WordPress walks through each option. Once your pipeline runs smoothly, add images, categories, notifications, and error alerts, and within an afternoon you will have a reliable system that turns a spreadsheet of ideas into ready-to-edit drafts.
Written by
Pluginos
Pluginos is a WordPress, WooCommerce, and Shopify development team with 8+ years of experience building plugins, apps, and eCommerce solutions. We share practical tutorials and insights based on hands-on development experience.